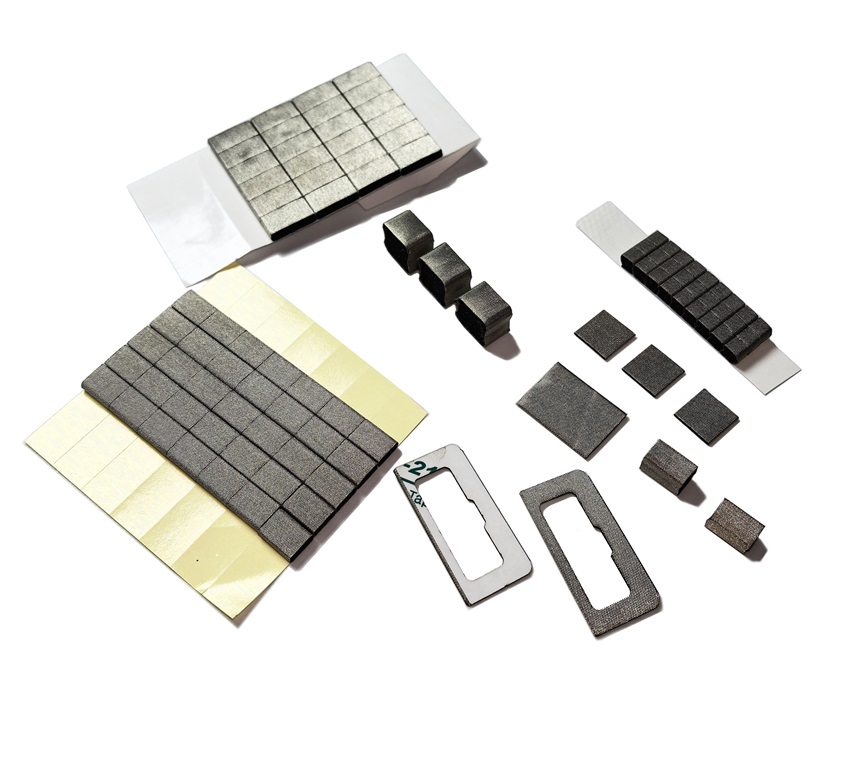
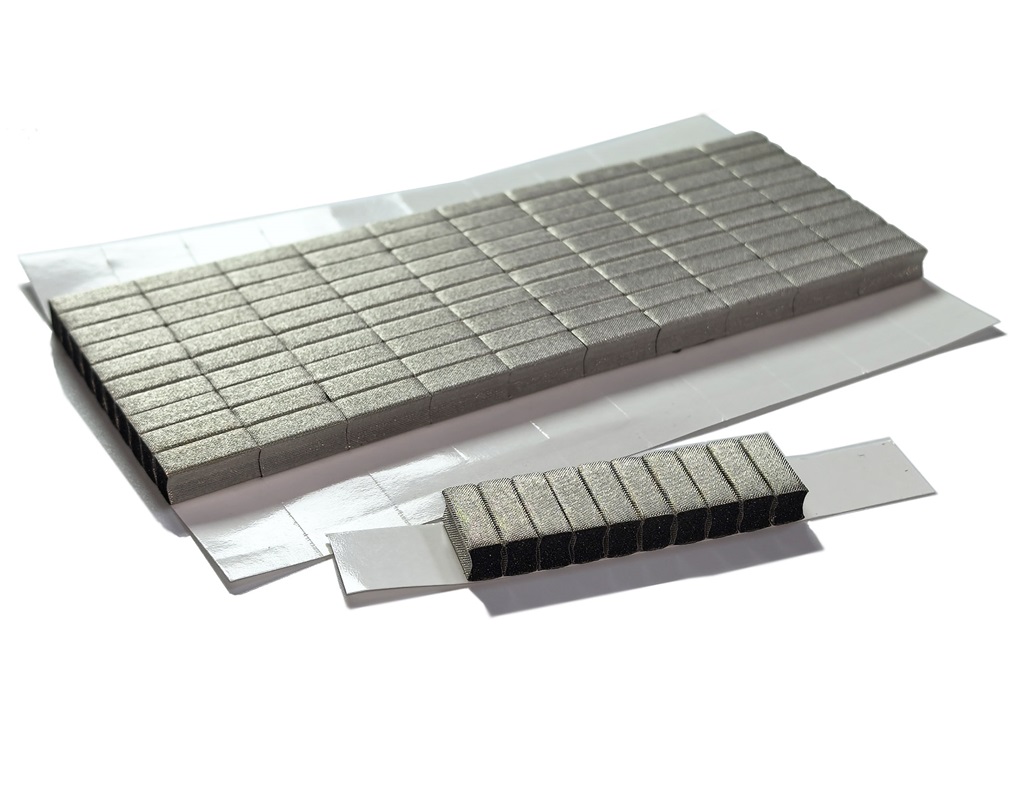
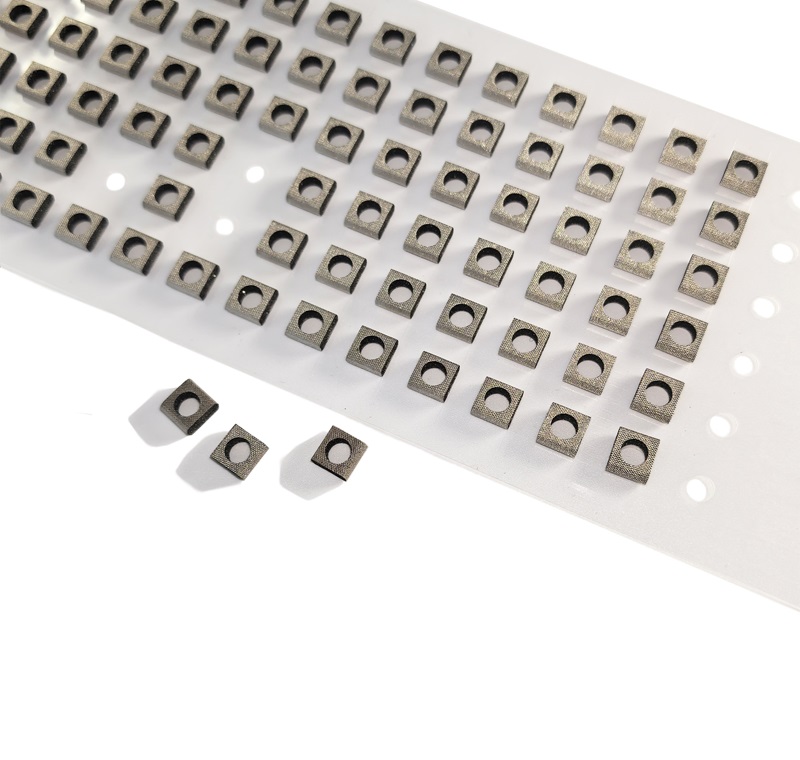
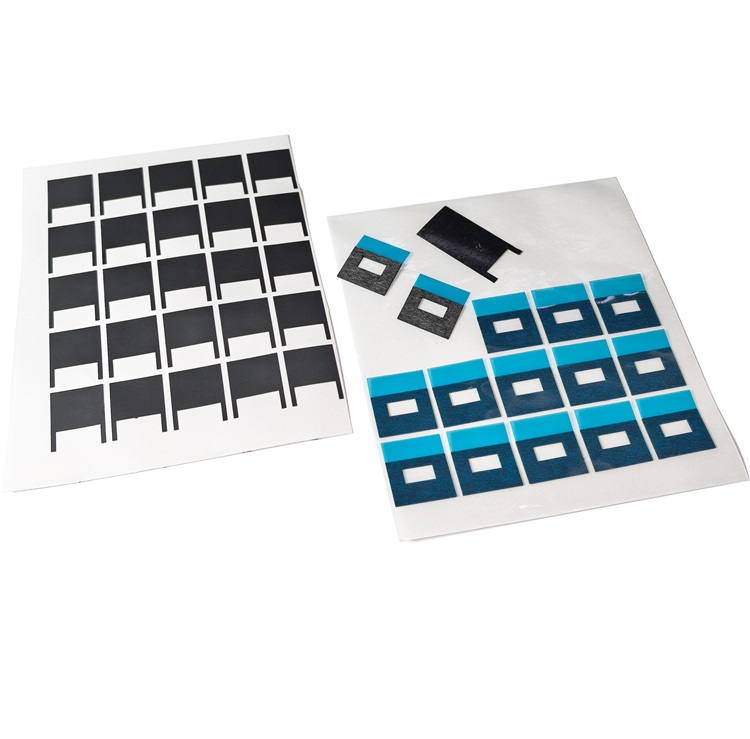
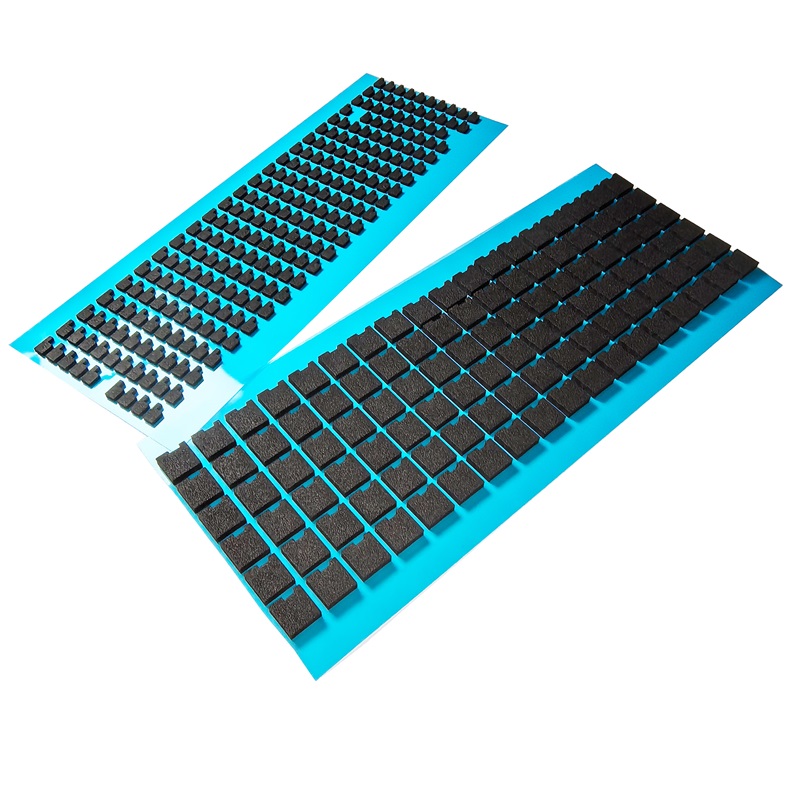
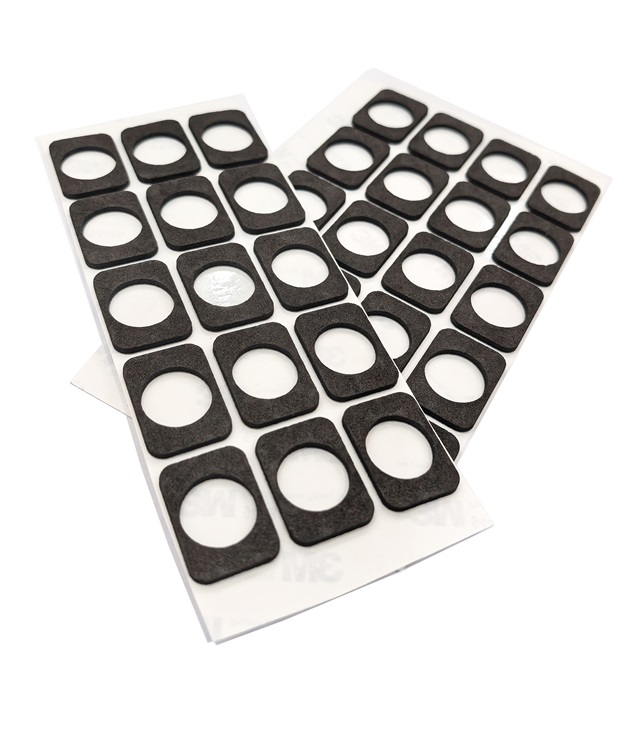
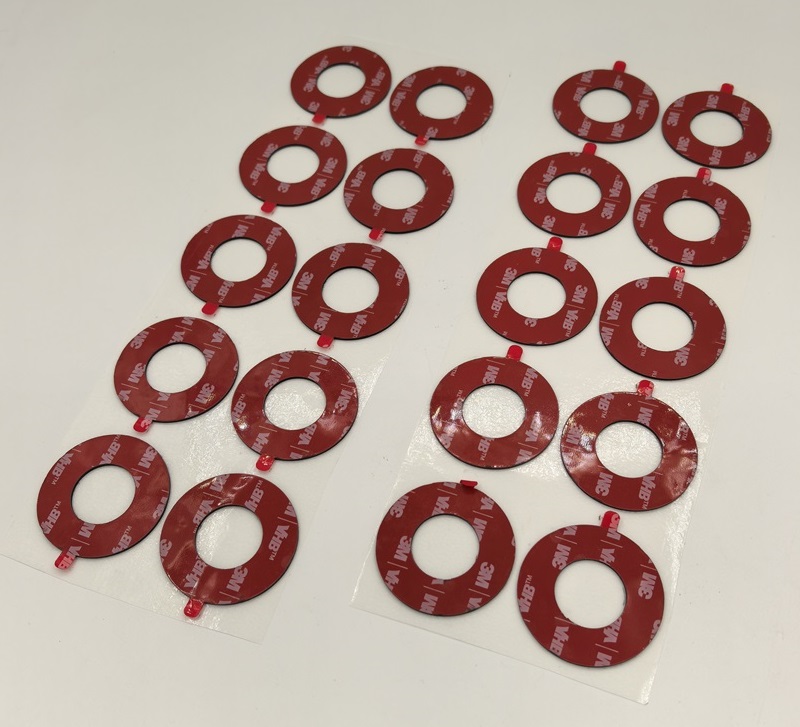
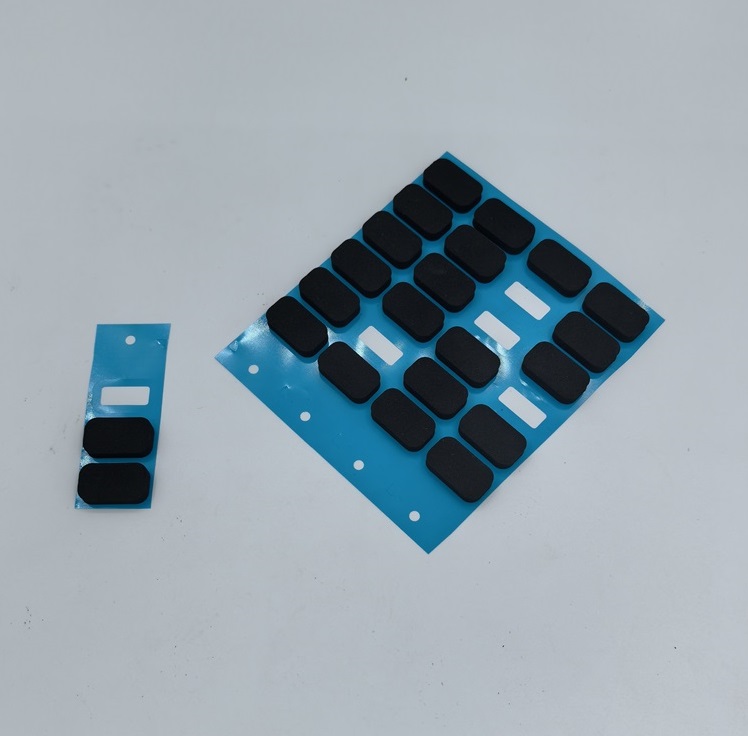
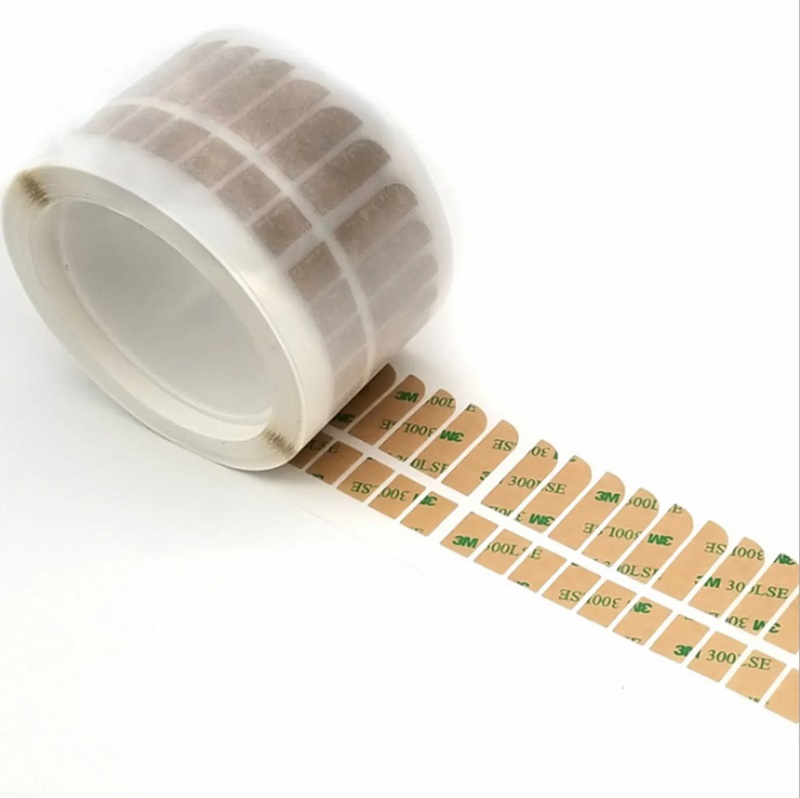
How is the conductive adhesive presented in the die-cutting process? Here is the die-cutting process of conductive adhesive. The following figure is the conductive adhesive die-cutting product we finally presented.
[1] Die-cutting process Design considerations
Product: This product is used for fixed grounding of circuit boards. The customer's method of use is manual transfer. After communication, this layout method does not affect customer use.
Technician: This operation is a single person, and the upper and lower molds need to be adjusted, including compounding, waste discharge, slicing, and distinguishing good and bad products.
Manual: Manually sort out good and bad products, such as a few that need patch packaging.
Equipment: Due to equipment limitations, single-seat die-cutting machines and compounding machines, we consider opening upper and lower molds.
Mold: According to the product tolerance, we choose corrosion mold.
Material: Low viscosity mold + blue PET release film (75g) + conductive double-sided tape + 80g white glassine release paper.
Precision: The tolerance of this product is ±0. 08mm.
Capacity: Highest equipment capacity, maximum personnel efficiency.
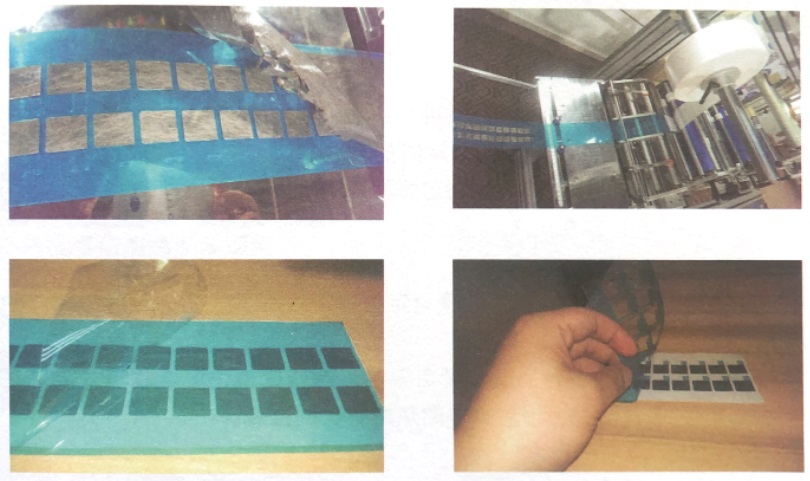
[2] Conductive adhesive die-cutting process Mold design
Due to equipment limitations, the upper and lower molds are designed and the machine is used for waste discharge. To save costs, a rubber plate mold is used with a mold tolerance of ±0.1mm. Mold A punches the product frame from top to bottom, and mold B punches the product tearing position from bottom to top. Mold A is designed with an R angle on the head, and waste is discharged from right to left when discharging waste, mainly to prevent waste from being easily broken.
[3] Conductive adhesive die-cutting process Equipment selection
Composite equipment, single-seat flat knife machine.
[4] Conductive adhesive die-cutting process Composite materials
First find a layer of useless material (non-sticky) or auxiliary material, and feed the material directly straight. The discharge shaft needs to have a pulling force of more than 1.5KG.
After the material is straight, use the positioning card to first determine the position of one side, and then replace the blue PET release film to pass through the rubber roller.
First use a low-viscosity mold to compound the non-release surface of the blue release film from bottom to top, and then use conductive glue to align the blue release film, and fit the center of the compound straight material.
[5] Conductive adhesive die-cutting process Mold adjustment
Raise the die base to confirm whether the mold can be put in. If not, continue to raise it until it can be easily put in.
Wipe the machine template and mold again, stick double-sided tape on the other side of the mold blade, and then pad the mold with foam and wood board.
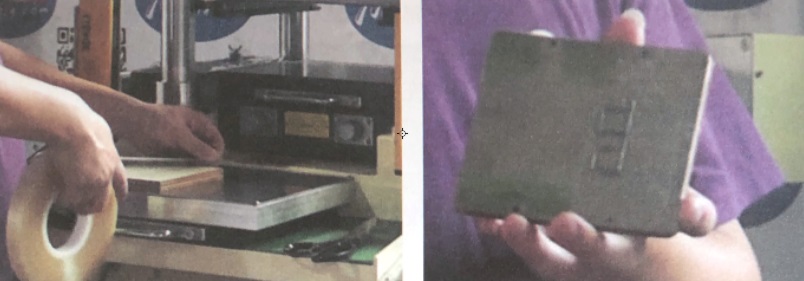
Put the two molds together, remove the release film on both sides of the two molds, place them parallelly on the lower template, and then start pressurizing until the upper template can stick the upper mold on it, and then use your hand to determine whether it is firmly pasted. Then put the mold adjustment material in the middle of the mold and start pressurizing again. Die-cut once every 0.1mm to prevent the mold from bursting due to too much pressure at one time, until the material has an indentation and then fine-tune it to press through the double-sided tape.
Die-cut one or two mold products, first look at the overall effect, then check the product knife marks, if a small part is too deep, use a utility knife to scrape the wood board down, if only a small part is continuous, use transparent glue to raise the wood board (if there is no mark on the wood board, you can pad carbon paper to make the knife mark first). You can also directly pressurize and reduce pressure, and adjust in this way until the product effect is satisfactory. Pass the material through the mold, straighten the material in the middle of the mold, set the step distance and start die-cutting. After die-cutting the product, tear off the waste glue of the handle and outer frame manually (note that the waste must be discharged with the machine, and the shorter the time from die-cutting to waste discharge, the better), then use the laminating machine to compound the release paper and rewind it, and finally pull the product on the laminating machine again to discharge other waste. Finally, to slice the product.

